BACK
13 Oct 2022 2:08 PM
Starting Out With Rust and Svelte Using Tauri

I’ve been wanting to check out
 Rust
for a long time now, especially after already
being comfortable with languages, like C++, that have no garbage collector. Rust’s
new take on an imperative language fascinated me, especially since it allows for
so many functional programming paradigms.
Rust
for a long time now, especially after already
being comfortable with languages, like C++, that have no garbage collector. Rust’s
new take on an imperative language fascinated me, especially since it allows for
so many functional programming paradigms.
I remember learning Ocaml, a functional programming language, and being frustrated by the roundabout ways of doing imperative “like” functionality. It was so verbose to write and complicated to wrap your head around it. Rust, on the other hand, is imperative from the start and grabs the best parts of functional programming languages like Ocaml: immutability, functions as first-class citizens, iterators and combinators, pattern matching, great error handling, and the best part, clear concepts of ownership.
To learn Rust I decided to use
 Tauri
, a framework to build desktop applications with a Rust backend and regular Javascript frontend.
It’s like Electron, but not Chromium :). Having a Javascript frontend, also allowed me to
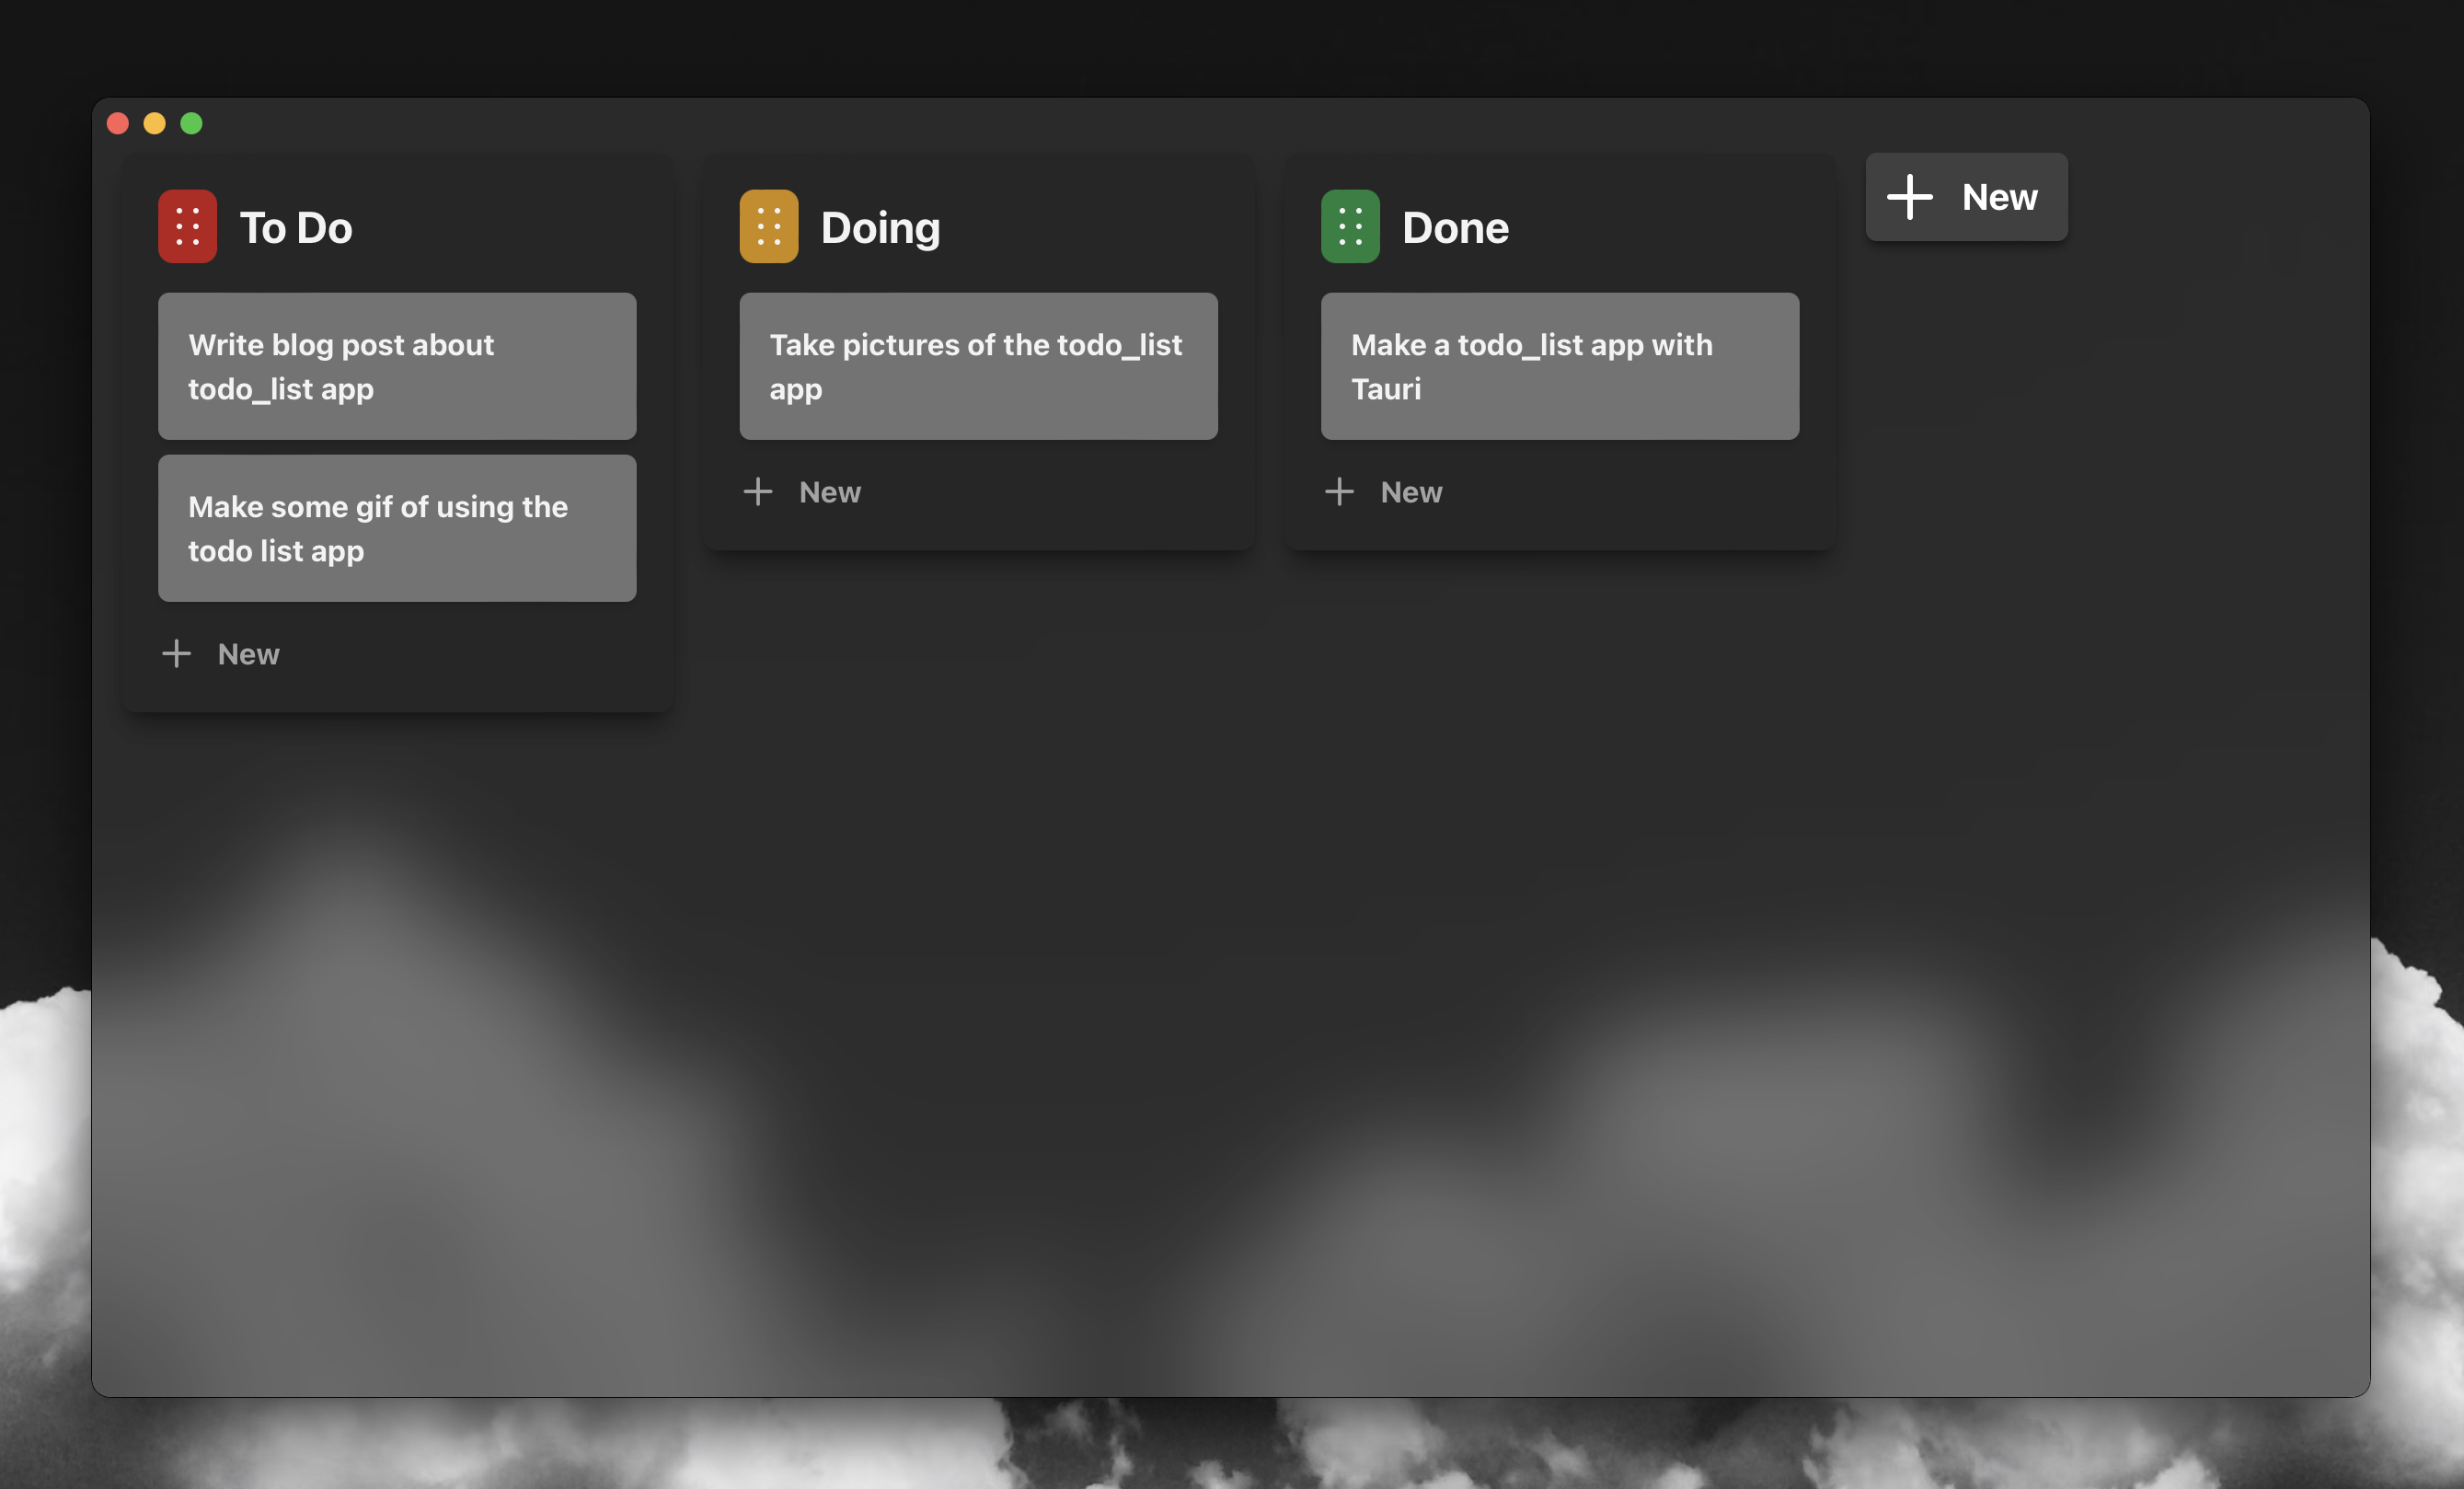
start out with Svelte. I built a simple TodoList app, which you can download below.
Tauri
, a framework to build desktop applications with a Rust backend and regular Javascript frontend.
It’s like Electron, but not Chromium :). Having a Javascript frontend, also allowed me to
start out with Svelte. I built a simple TodoList app, which you can download below.
The Github Repo:
 TodoList App
The Latest Release:
Releases
Rust Basics
While researching Rust, I found this amazing article by Amos A half-hour to learn Rust. It covers all the important things to know about Rust. But here are a couple things that I learned on top of that.
Advanced Option Handling:
The most basic way to deal with Option is using match or if statements,
or just unwrap and panic! the program.
let x: Option<i32> = Some(3);
let y: 4;

let x_plus_y: Option<i32> = match x {
  Some(x) => Some(x + y),
  None => None
}
// or:
let x_plus_y: Option<i32> = if x.is_some() {
  x + y
} else {
  None
}

// Will crash if x is None;
let x_plus_y: i32 = x.unwrap() + y;
However, I found that you can use some wonderful functional combinatorial
ways to manage Option, using and, and_then, or, and or_else.
let x: Option<i32> = Some(3);
let y: i32 = 4;

// This is the same as the `match` and `if` statements above.
let x_plus_y: Option<i32> = x.and_then(|x| x + y);
let x: Option<i32> = Some(3);
let y: Option<i32> = None;
assert_eq!(x.and(y), None);
assert_eq!(x.or(y), Some(3));let x: Option<i32> = None;
let y: Option<i32> = Some(10);
assert_eq!(x.and(y), None);
assert_eq!(x.or(y), Some(10));let x: Option<i32> = Some(3);
let y: Option<i32> = Some(10);
assert_eq!(x.and(y), Some(3));
assert_eq!(x.or(y), Some(10));So CLEAN 😌. In a way it mimics the implicit undefined and null handling of javascript with its implicit boolean conversions.
Click me for Javascript code
let x: number | undefined = 3;
let y: number | undefined = undefined;
assert_eq(x && y, undefined);
assert_eq(x || y, 3);
let x: number | undefined = undefined;
let y: number | undefined = 10;
assert_eq(x && y, undefined);
assert_eq(x || y, 10);let x: number | undefined = 3;
let y: number | undefined = 10;
assert_eq(x && y, 3);
assert_eq(x || y, 10);Deriving Traits Using Macros
In Rust, you will frequently see the following macro above structs:
#[derive(Default, Clone, Copy)]
pub struct FooBar {
  ...
This macro automatically defines the traits inside the derive(...) method. So
whenever I handle FooBar I can use methods in the Default, Clone and Copy
traits.
I ran into some problems while using this macro in my own structs and it took
me some time to figure out how to solve it. This macro traits assume that any field
within the struct implements the same traits. This is important, as some common
native data structures do not implement some of these traits. For example, String
and Vec do not implement Copy. So when your struct has a field of type
String, and try to derive from Copy it will give you an error.
// This will throw a compilation Error.
// Because String does not implement Copy.
#[derive(Clone, Copy)]
struct FooBar {
  zar: String,
}
// Instead, you'll have to only implement `Clone`
// and manually call `clone()` when "copying" it.
#[derive(Clone)]
struct FooBar {
zar: String,
}
let x = FooBar { zar: String::new() };
let y = x // error! because `Copy` is not implemented.
let y = x.clone() // good :)Using Tauri and Svelte to Make a Task Tracker
Tauri had some great systems in place to interop between Rust and Javascript.
The ones I mainly used were called tauri::commands.
You can register a command in your tauri main.rs file with the following.
#[tauri::command]
fn get_data() -> Data {
  ...
}

#[tauri::command]
fn set_data(data: Data) {
  ...
}

fn main() {
   tauri::Builder::default()
        .invoke_handler(tauri::generate_handler![get_data, set_data])
        .run(tauri::generate_context!())
        .expect("error while running tauri application");
}
Then in Javascript, you can call it using the @tauri-apps/api.
import { invoke } from "@tauri-apps/api";

interface Data {
  ...
}

let data: Data = await invoke<Data>("get_data");
invoke("set_data", { data: data });
This allows for all your computationally expensive things to be done on the rust backend which will be much faster than Javascript.
- Call databases
- Do machine learning
- Parse videos
- etc…
We can integrate this with svelte really well by using svelte’s built in
writable and readable stores:
// In a new file: `store.ts`
import { writable, type Readable } from "svelte/store";
import { Data } from "backend-types";

export const dataStore : Readable<Promise<Data>> = (() => {
  const { subscribe, set } = writable<Promise<Data>>({ ... })

  const reload = async () => {
    set(invoke<Data>("get_data"));
  }

  return {
    subscribe,
    reload
  };
})();
<!-- In a component file: `component.svelte` -->
<script lang="ts">
import { dataStore } from "store";
</script>
// await dataStore promise then display
{#await $dataStore}
<p>Loading...</p>
{:then data}
<pre>Data: {data}</pre>
{/await}
<!-- Button hot reloads component with new data. -->
<button on:click={dataStore.reload} >reload</button>This component system hot reloads whenever dataStore.reload() is called. A
wonderful way to make your front end reactive to backend data fetching.
Some Previews of the TodoList App
Here are some previews for the app :).